Create a Catalog Product
Customize your catalog with unique products.
Create The Item
-
In Admin, navigate to Inventory > Products.
-
Click on the "Add Item" button.
-
Fill out the few key fields on the Add New Item form and click Continue.
-
An item must have a Brand, Model Name, and Category.
-
Model Number and Model Year are optional.
-
If a particular brand is not available in the pull-down menu, add that brand in Settings > Commerce > Brands. You won't see your brand in your products refine-by filters until you have created your first product.
If you don't see the category you want in the category selector, please contact support@smartetailing.com and one of our agents can add the category for you.
Time-Saving Tips:
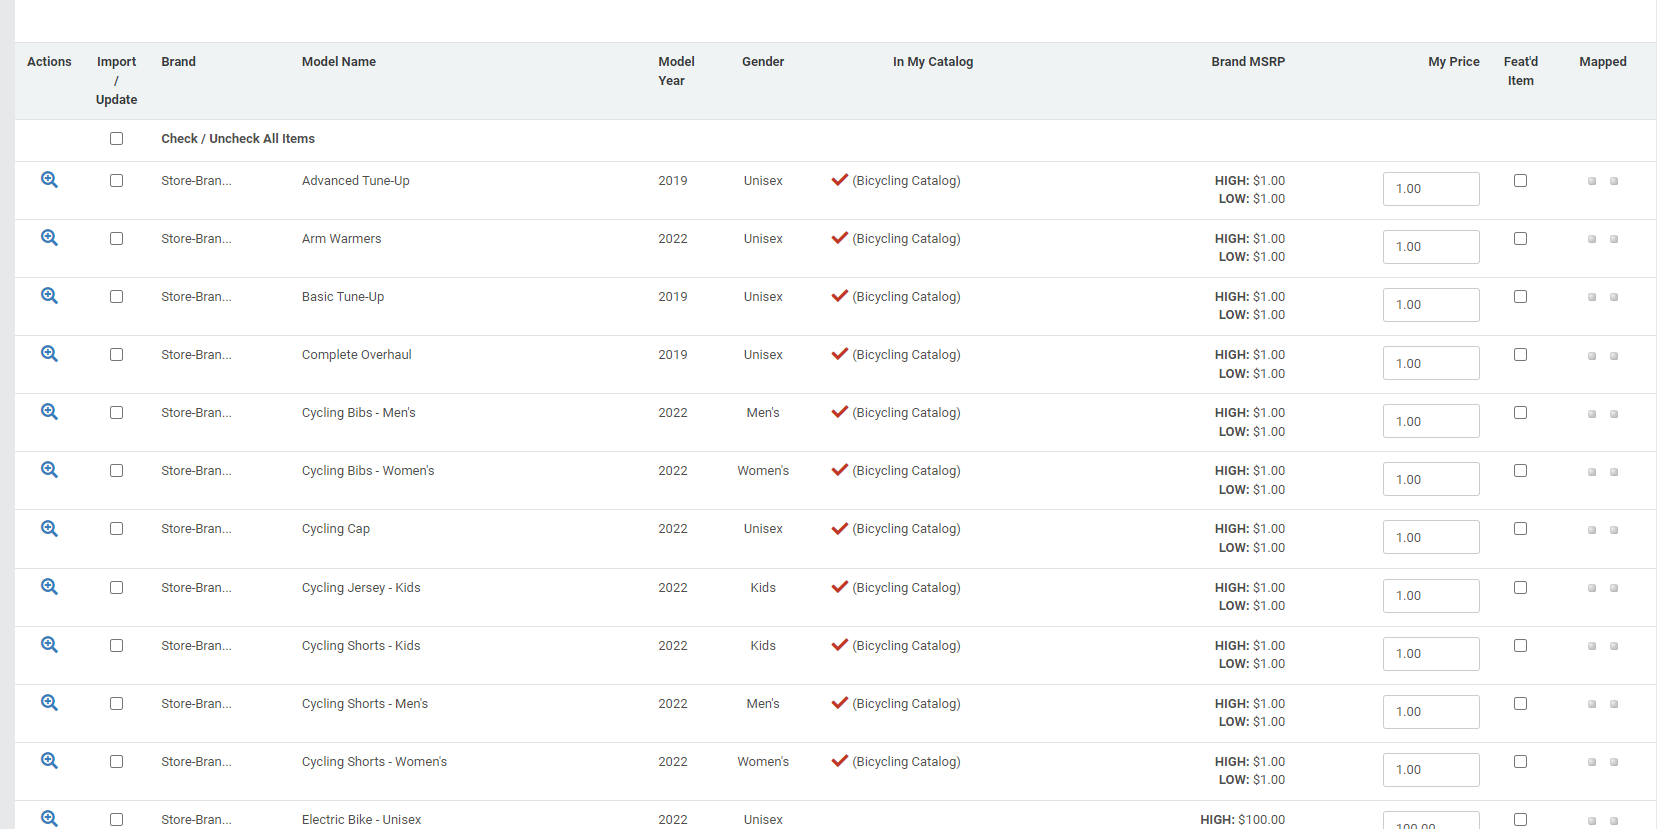
- Search in Inventory > Library Products before you start creating a new item to see if the item you want to create already exists, or to search for pre-made templates that you can customize.
- To view the available templates, in Admin go to Inventory > Library Products, select "Store-Branded" as the Brand, and click Display.

Fill In Item Details In Each Tab
-
General Tab - A good item description is usually 50 - 100 words long.
-
If there is an existing description from the manufacturer, it's never a bad idea to use their marketing copy for the item.
-
-
Variations Tab - Does the item come in variations?
-
No - Move on to Prices / Stock
-
Yes - SKU Matrix Variations (i.e. colors, sizes) -OR- Non-SKU Variations (i.e. kits, packages)
-
Add Variation Types (i.e. Size, Color, Width).
-
Add Variation Values (i.e. Small, Medium, Large)
-
-
-
Prices/Stock Tab - Set retail prices for your item and fill in MPNs and GTIN/UPCs if available.
-
A GTIN/UPC will cause the item to automatically map to an item in your POS system.
-
UPCs must be 12 digits, and you should not try to make one up.
-
If a store-branded product shares a UPC with a normal retail version (like a jersey), you will want to use an MPN instead so your store-branded stock doesn't accidentally mix in with the regular products.
-
-
An MPN will cause the item to end up in Pending Mappings, where you will manually match the POS item to the new website item.
-
Most manufacturers have an MPN for their products, but you can always make up your own to ensure mapping to the correct product.
-
- If you leave both of these fields blank, your item will not map.
- Filling in My SKU is unnecessary, and will not help the items map properly. This gets filled in automatically once the mapping is created from the UPC or MPN.
-
-
Inventory - If this product will be mapped to your point of sale, do not enter inventory when creating the product.
-
Fulfillment/Shipping - Add fulfillment and shipping-related details such as weight and dimensions in pounds and inches. Other fulfillment-related settings can be controlled in Suppliers/Brands > Brands.
-
Images/Video - Ideally, your original image should be 2000 x 2000 pixels for the best zoom, however, images only 700 px wide or tall can be used too. Original images will auto-generate the smaller main photos and thumbnails.
If your item comes in multiple colors, upload images under the "SKU Images" section. If your item comes in just one color but you want to show multiple views (e.g. front and back), upload them under the "Model Images" section.
Features & Related Items
These functions add more detail and depth to your listings.- Features - Highlight product details outside of the main description, a place to display sizing charts, or other related information.
- Related Items - Link to other items or categories customers may want to consider while viewing the current item.
Preview & Publish
- Once you're done saving your changes, use the preview link at the top of the page to see how it will display on the site.
- When ready, check the "Display item in catalog" checkbox and Save Changes.