Start Register Session
- Navigate in Admin to Sales > Cash register.
- Enter your starting cash amount (can be any amount), and click "Start session".
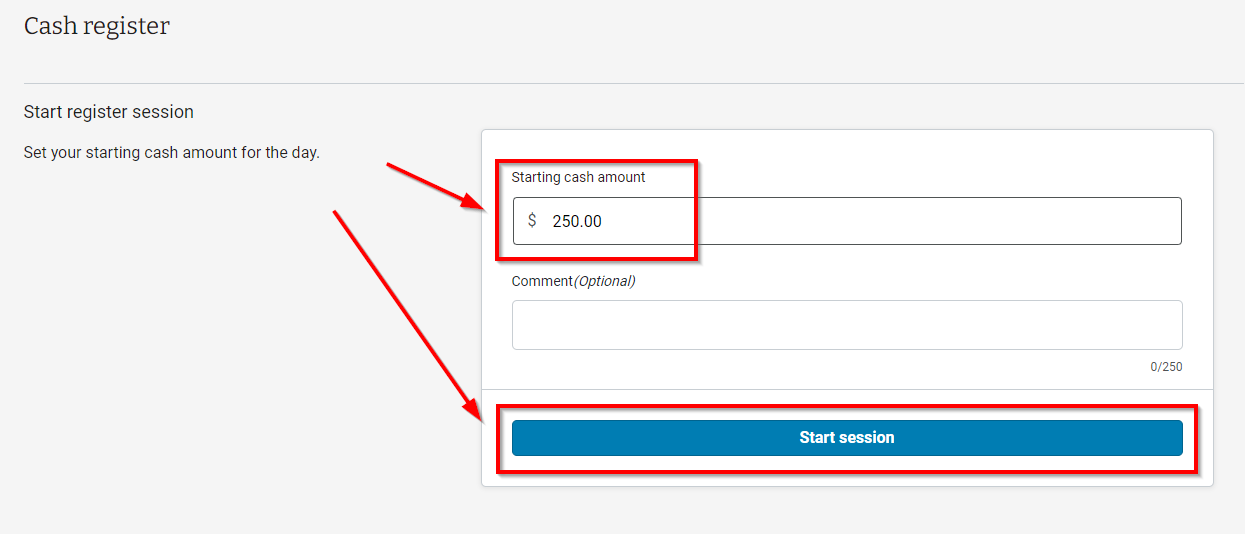
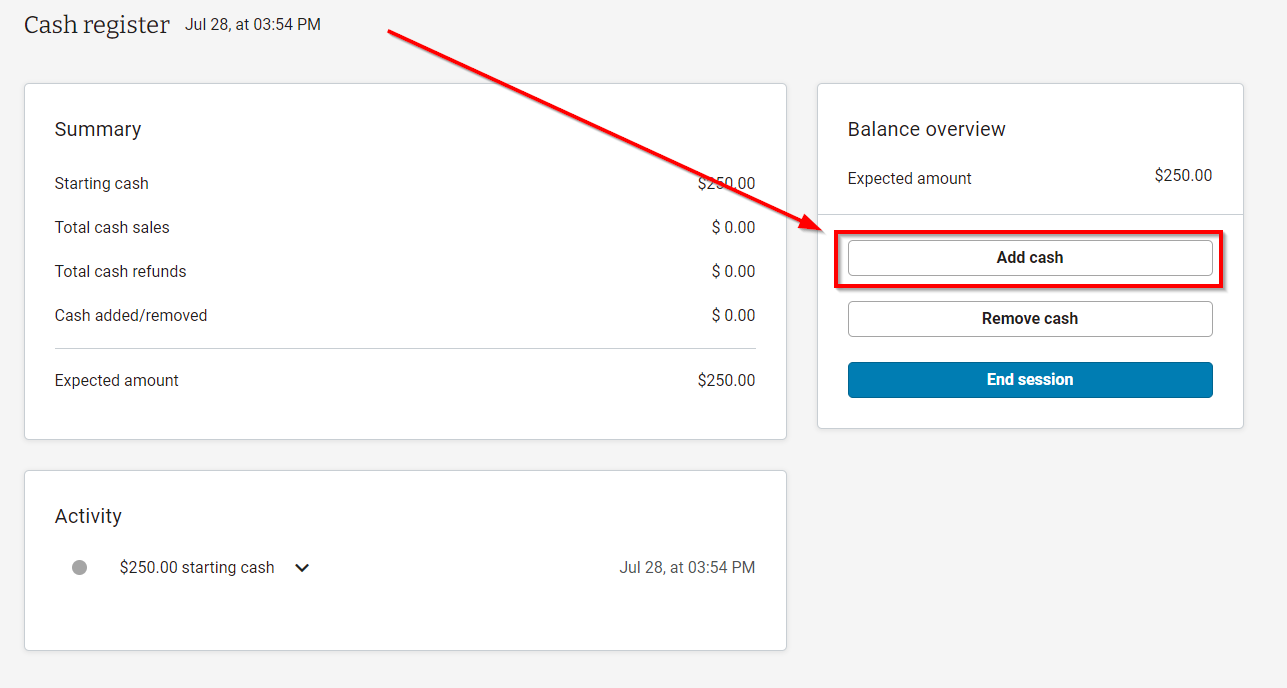
- On this screen, you will see Summary, Balance Overview, and Activity, and you'll also be able to Add and Remove cash from the register.

Add Cash
- Cash can be added at any time during a register session.
- To add cash, navigate to your Cash register (Sales > Cash register) and click "Add cash".
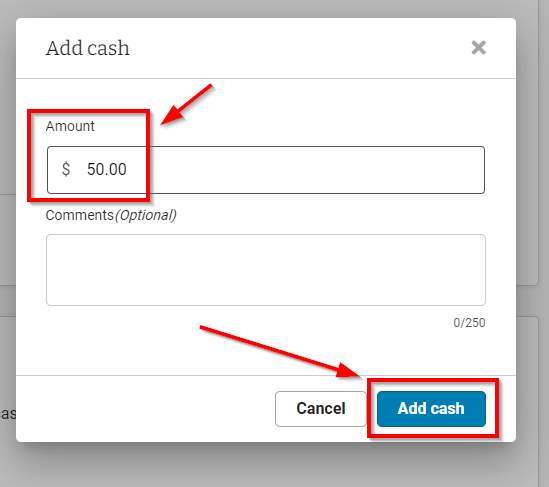
- In the Add Cash modal, enter the amount of cash you are adding, add a comment, and click "Add cash".
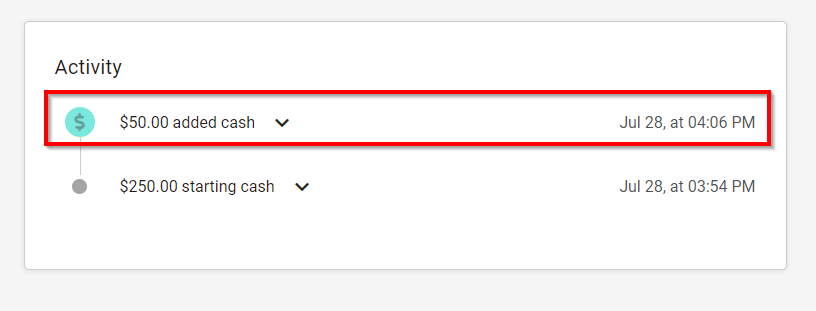
- The added cash is now visible in the Activity box. Click the down arrow to view comments.
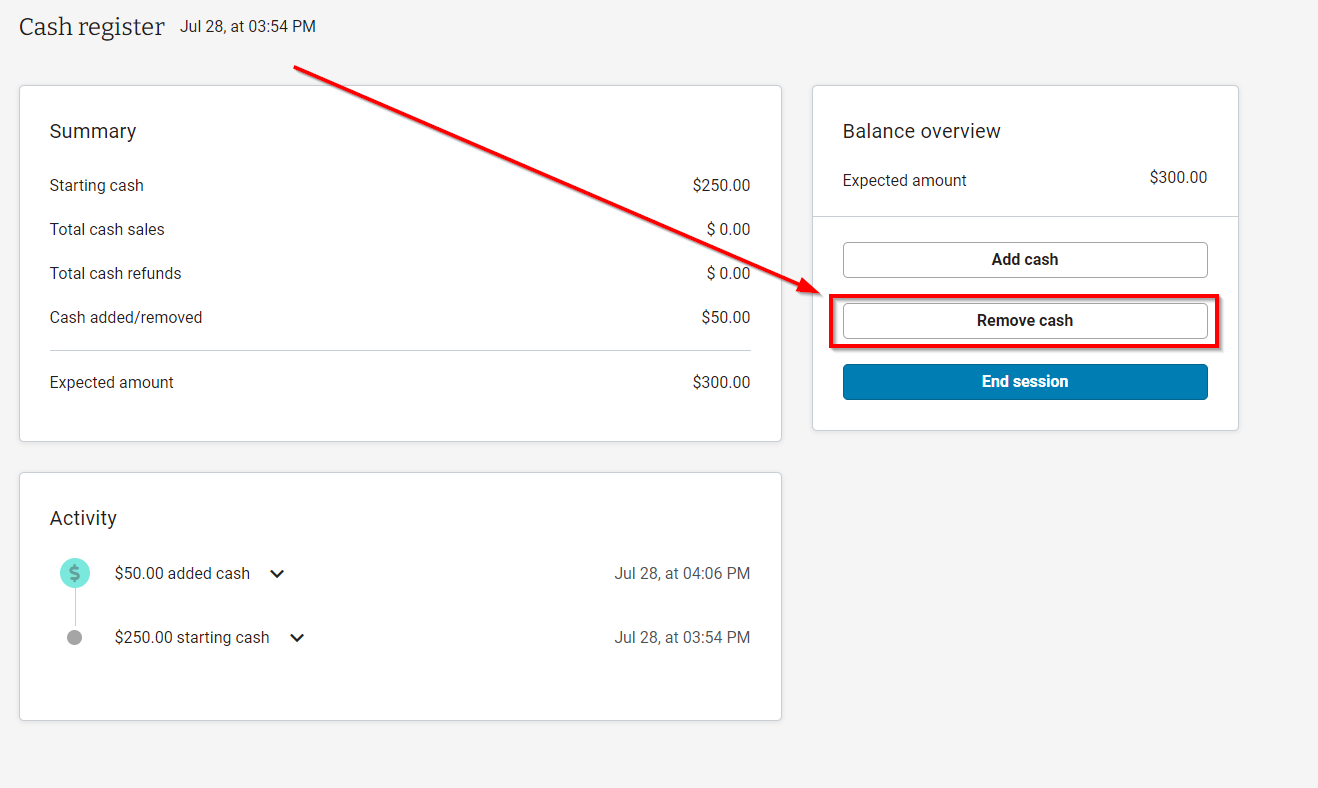
Remove Cash
- Cash can also be removed at any time during a register session.
- To remove cash, navigate to your Cash register (Sales > Cash register) and click "Remove cash".
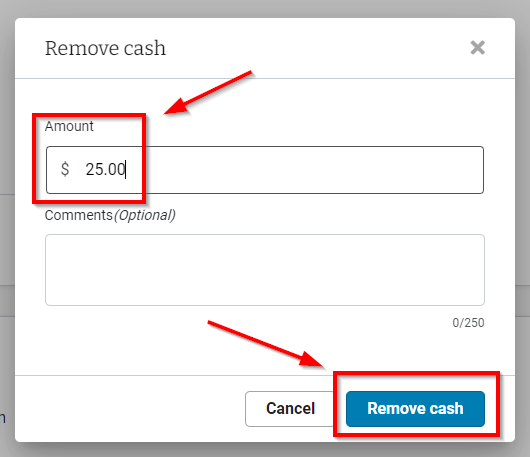
- In the Remove Cash modal, enter the amount of cash you are removing, add a comment, and click "Remove cash".
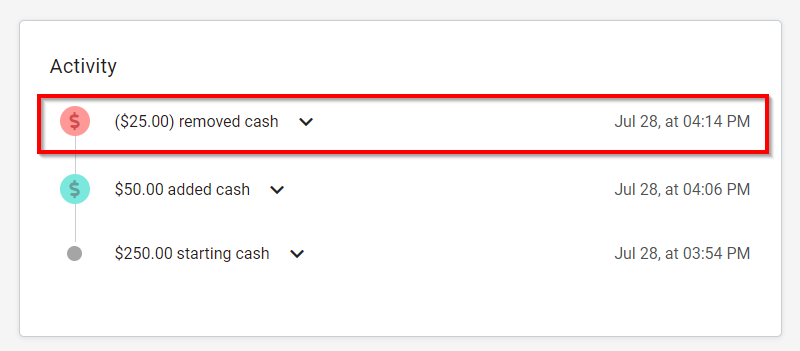
- The removed cash is now visible in the Activity box. Click the down arrow to view comments.
End Register Session
- To end your register session, navigate to the cash register (Sales > Cash register), and click "End session".

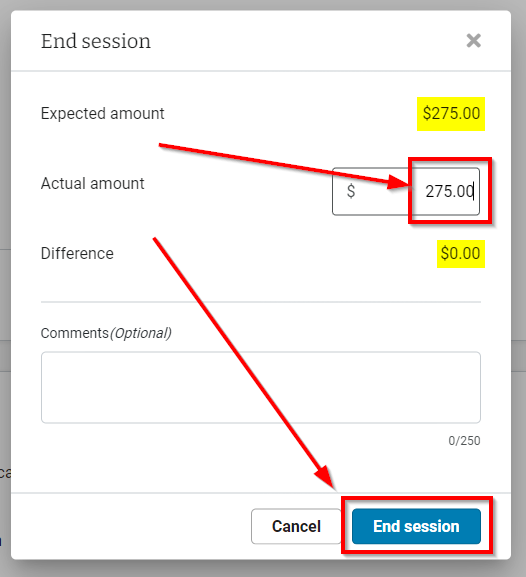
- In the End session modal enter the actual amount you counted in the register.
- The expected amount and Difference will also be displayed.
- Click "End session".
- View the summary from the register session and click "Confirm".
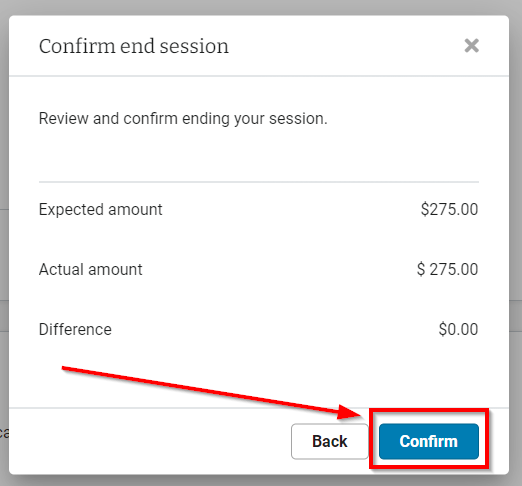
- A complete summary of the session will then be displayed.
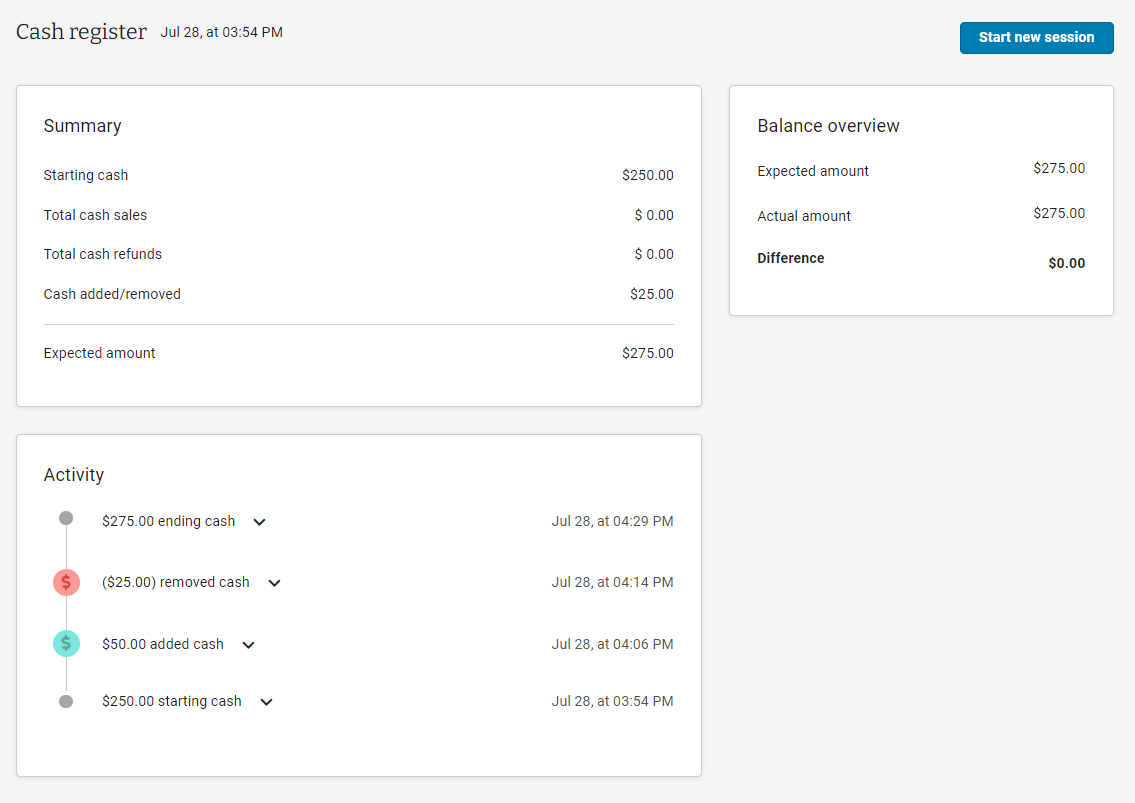
- If you'd like to immediately start a new session, click "Start new session" in the upper right corner of the screen.
- Once you navigate away from this screen a new register session can be started by navigating to Sales > Cash register.