Shopify POS Integration
Instructions to download, install, and configure the Shopify Integrator to connect your Shopify POS inventory to your website.
Shopify Integrator Install
Download the Shopify Integrator Application Here
- Click the link above to download the Setup file. This application can be installed on any Windows computer (Windows XP, Vista, 7, 10, and 11) that has an internet connection.
NOTE: If your browser presents a warning notice when attempting to download the application, it is safe to continue past the warning as some browsers will flag the file type as potentially unsafe.
- If prompted, select Yes to allow the program to make changes to the computer.
- Once the Install Wizard window appears, click Next.
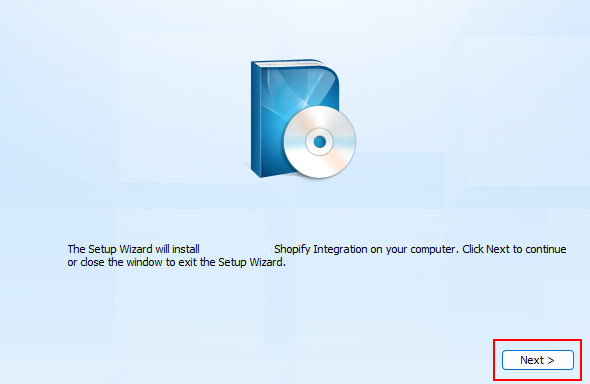
- Click Next.
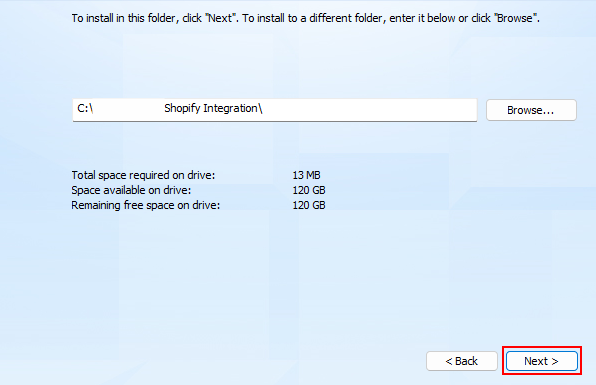
- Click Install to install the program.
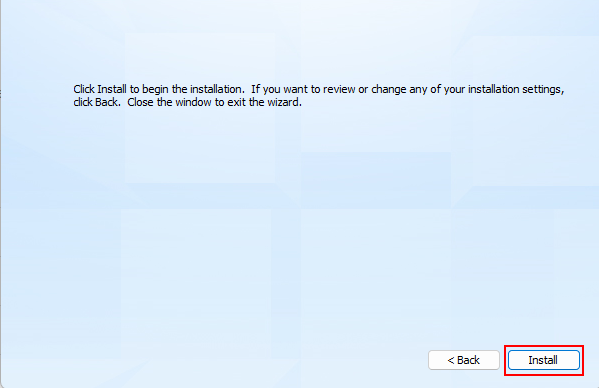
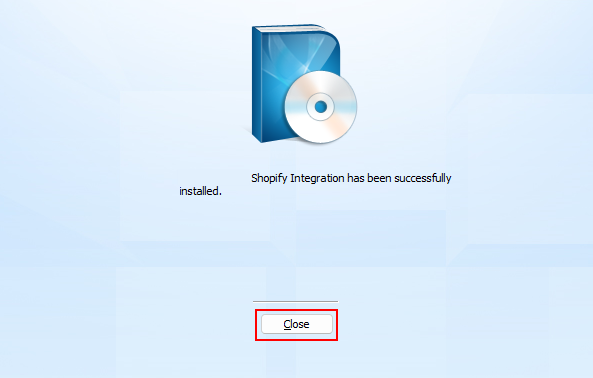
- Click Close when prompted.
Setup
- Double-click the Shopify Export desktop shortcut to start the application.
Shopify Settings
Click on the Shopify Settings tab and you'll see a URL and Token Key that need to be entered.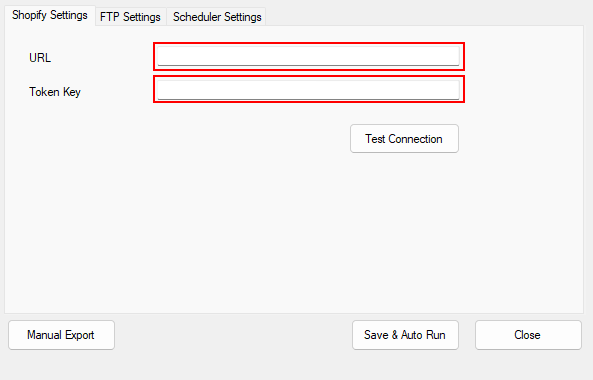
- To obtain the Token Key log into your Shopify account and go to: Settings > Apps and sales channels.
- Press the "Develop Apps" button.
- Press the "Create an App" button.
- Give the app a name.
- Press the "Configure Admin API Scopes" button.
- Check each box that is in the list followed by pressing the "Save" button at the bottom of the list.
- Scroll back up to the top of the page and press the "Install App" button.
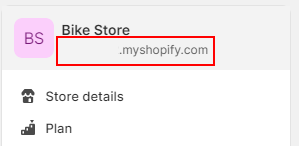
- In the top left corner, under the name of your shop, there will be a URL. Copy that URL into the URL field of the Shopify program.
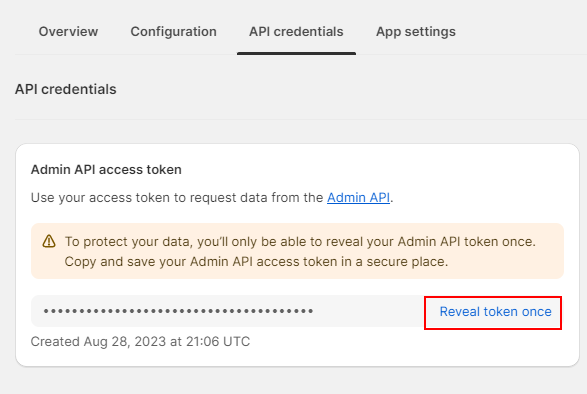
- Under the API Credentials tab, press the "Reveal Token Once" button. Copy this token to the Token Key field of the Shopify program. Keep in mind that this token can only be shown once.
The Token Key can only be viewed once. Be sure to copy it into the Integrator program and save it before navigating away from it in Shopify. It cannot be viewed again.
-
- In the Shopify Integrator program press the Test Connection button to confirm the connection is successful. A "Connection Success" message will display if the two fields have been filled out properly.
- Press the Save & Auto Run button to save those fields.
FTP Settings
- Click on the FTP Settings tab.
- In the Server field enter "posftp.smartetailing.com".
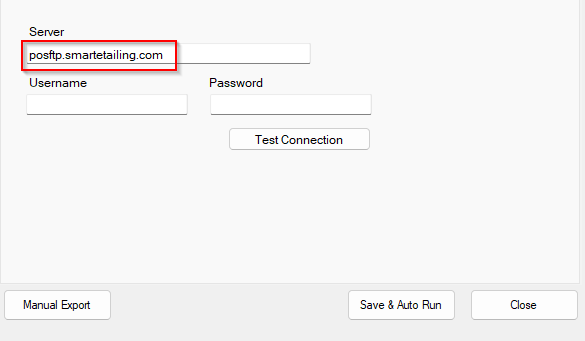
- To obtain your Username, log into the Admin and navigate to Settings > POS Sync > POS Sync Settings. Note the FTP Account Username and enter that in the Username field in the integrator program.
- For the Password, click Generate New FTP Password in your site manager (on the same POS Sync Settings page) and it will be sent to the tech contact on file.
- Obtain that password and enter it into the Password field in the integrator program.
- Click Test Connection to confirm the connection is successful.
- Then click Save & Auto Run to save the changes.
NOTE: If copying and pasting the FTP password, be sure to not copy a space before or after the password. If you do not receive the password email contact the Client Success team for further assistance.
Scheduler Settings
- Click the Scheduler Settings tab and then click the "On/Off" box to enable the scheduler.
- Select the appropriate sync bubble box and enter your selection for how often to send us a POS file.
- Schedule the POS file to be sent to us at least once a day.
The computer that the Shopify Integrator is installed on needs to be on with the program running in order for a file to be generated and sent to us.
-
If selecting "Sync at a specific time in day"
- Up to two different times can be entered, one in each box.
- Both boxes do not need to be filled out.
- Enter the times in the military/24-hour time format. For example, if wanting to have a pos file sent to us at both 10 a.m. and 2 p.m., enter 10:00 and 14:00 into the boxes.
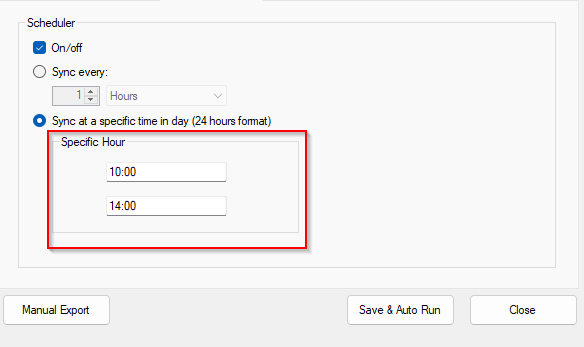
-
- Click the Save & Auto Run button to save the changes.
- Press the Manual Export button to have a POS file generated and sent to us right away. A status bar will appear below the button with the progress of the upload.
Setting the Program to Automatically Start on Startup
- This guide can be followed to toggle on/off programs that launch automatically on startup.
- If we are not on the list of programs, then follow the steps in this guide:
- Copy program shortcut from desktop.
- Windows Key + R, type: shell:startup then select OK.
- Paste the program shortcut to this folder.
- Restart computer.
- Search Startup Apps.
- Toggle on the Shopify POS Integrator.
Part Number Fields
- By default, a Barcode field exists in Shopify and the UPC / GTIN should be entered in this field within the details of each product.
- To add additional fields in Shopify navigate to Settings > Custom Data, select either Products or Variants then press the "Add Definition" button. Additional fields that can be created:
- MPN
- GTIN2
- Brand
Note: These additional fields can be created in either the Products or Variants areas or both. Create them where it makes the most sense for your shop. If they're entered in both places the Variants level will override the Products level (if they overlap).
- Once the Name has been filled out with one of the above, press the "Select Type" button and Select the "Single Line Text" option.
- Press the "Save" button.
- Once created, additional fields will now appear within each product in Shopify and can be filled out to be utilized by our platform.
- Our system uses UPC (GTIN) or Manufacturer Part Numbers (MPN) to map items. At least one of these needs to be entered for the item to map. If neither are filled out then the item cannot map. The Barcode field is preferred to be filled out. The MPN or GTIN2 custom fields listed above can also be filled out.
- Barcode in Shopify = GTIN1 on our platform.
- MPN in Shopify = MPN on our platform.
- GTIN2 in Shopify = GTIN2 on our platform.
- The SKU field in Shopify is a system-generated number for each item. This field is required to be filled out but is not used for product mapping.
- SKU in Shopify = My SKU on our platform.
Discounts
- The "Amount off Products" discounts in Shopify will come over to us as a product sale. Other discount types will not.
- Select the "Discount Code" method. The Automatic Discount method will not come over to us.
- Discount can be setup as either a Percent or Fixed Amount discount.
- Discount can be assigned to either a collection or a product.
- Assign one discount per product / collection. Multiple discounts assigned to a product will not come over to us.
- Set the Sale Start and End date at the bottom of the discount. A Sale Start date is required for the sale pricing to display on the website.
Draft Items
- To prevent items that are in Draft status in Shopify from appearing on your website.
- Once logged into the Admin, go to: Settings > POS Sync > POS Sync Settings.
- In the POS Flags section, check the box that says "Only import / display items flagged as ACTIVE in my POS inventory."
- Press the "Save Changes" button at the bottom of the page.
NOTE: Please contact the Client Success team if further assistance is needed.
Balance on Order and Purchase Order information that is entered in Shopify will not come over to our platform.